🤖 Understanding item configuration
📚 Items are the building blocks of your chatbot—they define how it responds after a user sends a message. In this guide, we’ll walk you through the different configuration options so you can fine-tune your chatbot’s behavior and make the most out of every interaction.
Every chatbot is built on a foundation of items—the actions your bot takes after a specific trigger. Think of an item as a building block in your bot’s flow: it determines how the bot responds when a user interacts with it. In most cases, items are triggered by keywords or phrases you’ve associated with them. For example, if a user types “help,” the bot might respond with an item that provides support options.
But that’s not all! Items can also be triggered by external sources, such as an API REST or a webhook from another app, making them a powerful tool for automation and integration.
In this tutorial, we’ll go over each configuration option available for your items, so you can make the most of your chatbot’s capabilities.
Creating a new item
Before we dive into the settings, let’s quickly recap how to create an item.
Go to WhatsApp > Chatbot. Look for your account and click on +Add Item.
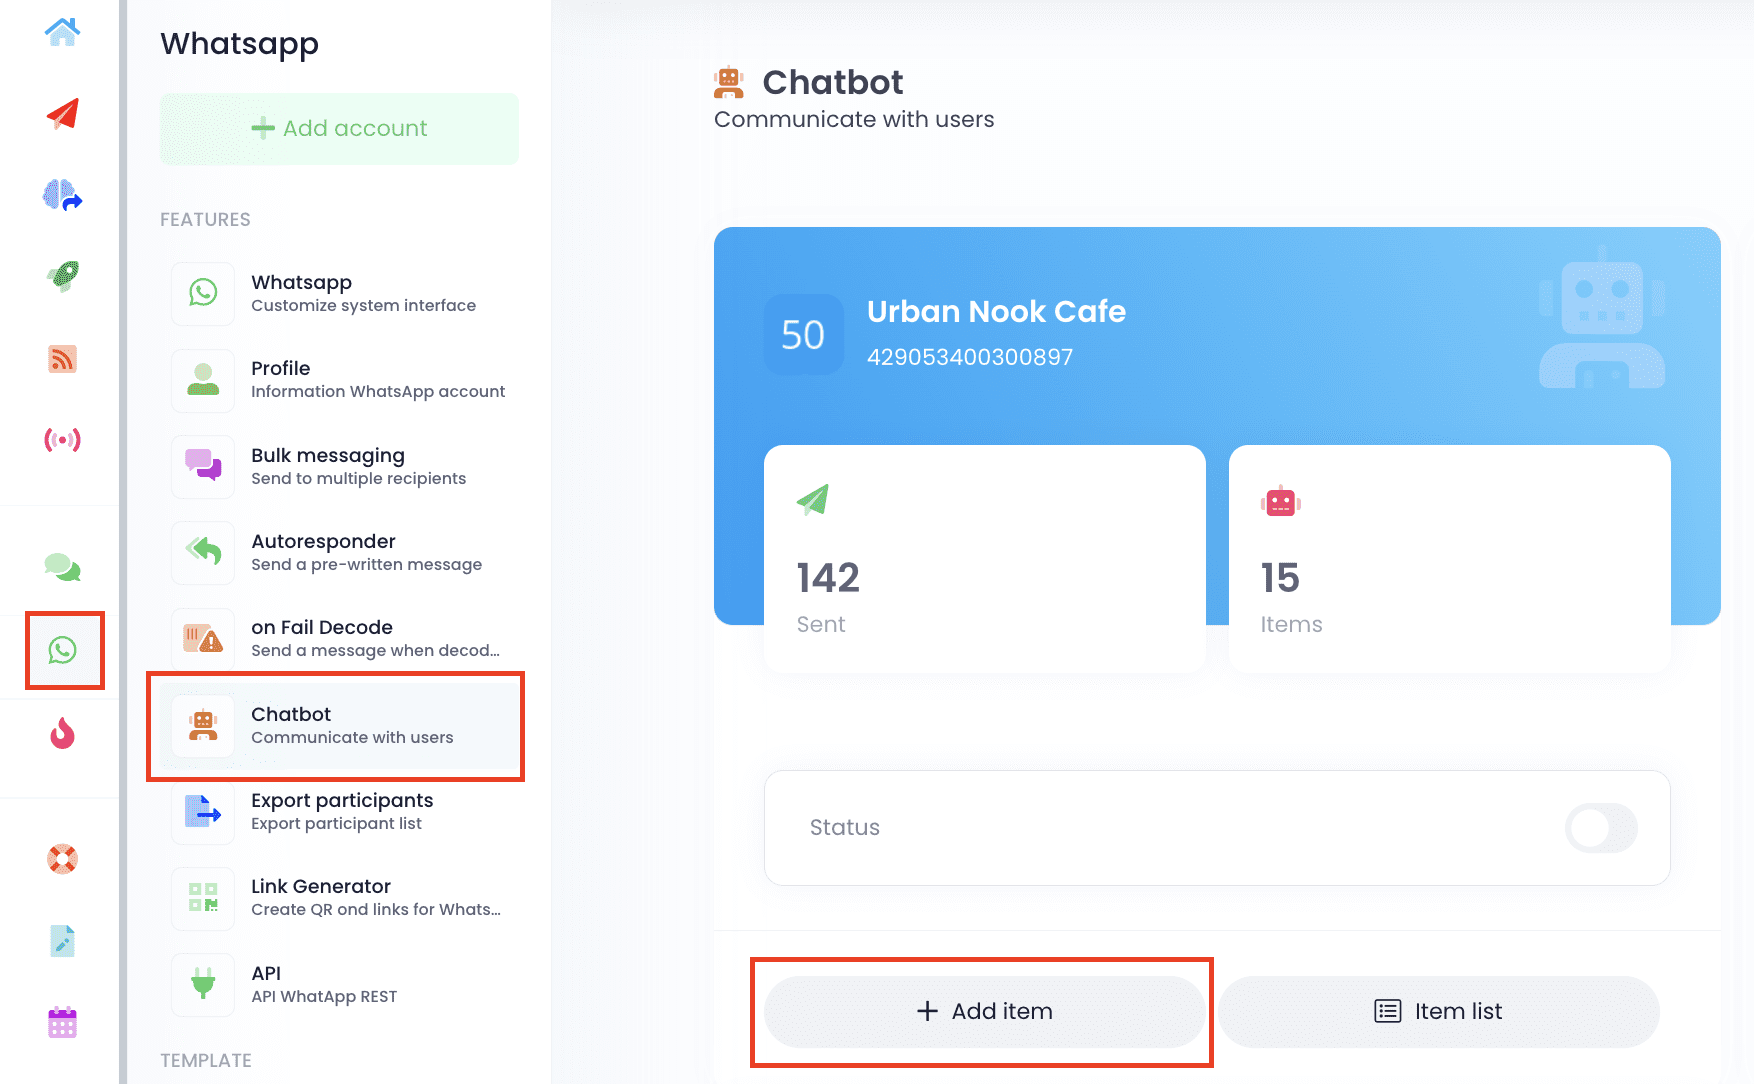
From here, you’ll see a range of options to customize your chatbot’s response. Let’s break them down one by one.
Understanding each setting
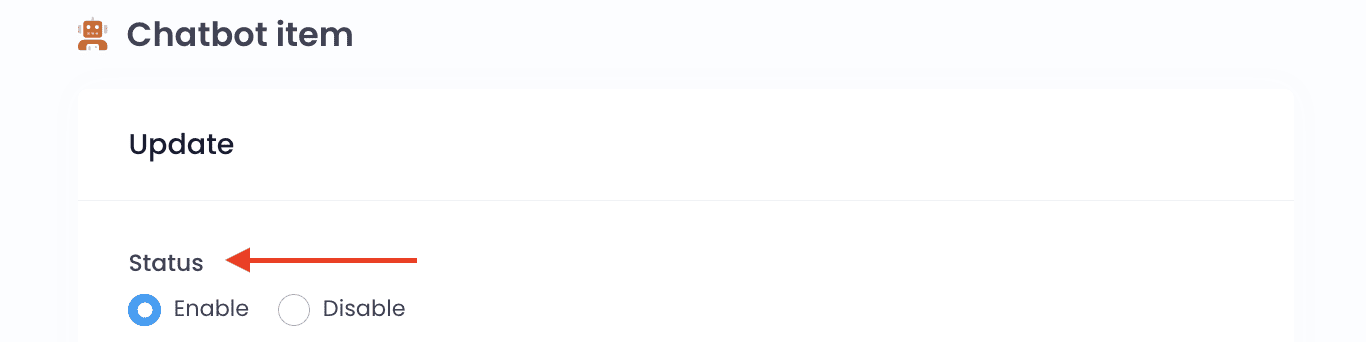
Status (Enable/Disable). This simply turns your item on or off. If disabled, the chatbot will ignore this item, even if the keywords match.
Is No Match Response? (Yes/No). This setting determines whether this item will be triggered when the user’s message does not match any of your keywords.
💡 PRO TIP: You should have only one no-match item per account, and this is usually the item containing the AI training for more natural responses.

Send To (Individuals, Groups, or Both). Choose whether this item applies to:
- Individuals (1-on-1 chats)
- Groups (WhatsApp groups)
- Both

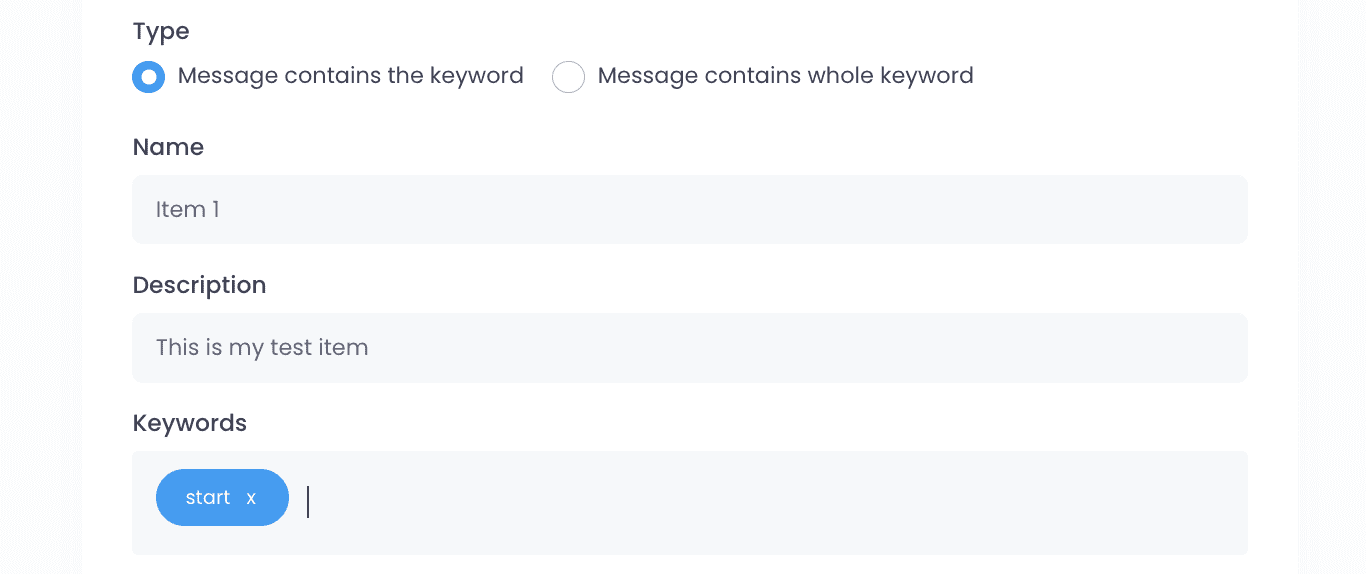
Keywords & Triggering Options. Here, you define the keywords that will trigger this item when a user sends a message.
You have two ways to match keywords:
- Message contains the keyword → The bot triggers as long as the keyword appears anywhere in the message.
- Message contains the whole keyword → The bot only triggers if the keyword is sent as a standalone message.
Name & Description. This is just for internal organization. You’ll see both the name and description in your item list to keep track of what each item does.
Next Bot Action. Want to send multiple messages in sequence? Link items together by entering the next item’s keyword here. If you link an item with Next Bot Action, all linked messages will be sent at the same time after the first one is triggered. If you want the bot to wait for a user’s response before sending the next message, combine it with the Save Data option (check this tutorial to learn how).

Presence Delay. Make your chatbot feel more human by adding a delay before it replies.
- Choose Typing… or Recording… (WhatsApp simulation).
- Set the number of seconds before the bot sends the message.
- Select Disabled and enter “1” if you want no delay.

Save Data. Turn this on if you want to store the user’s response to this item. You’ll be asked to name the custom field where the response will be saved. Check this article to learn more.

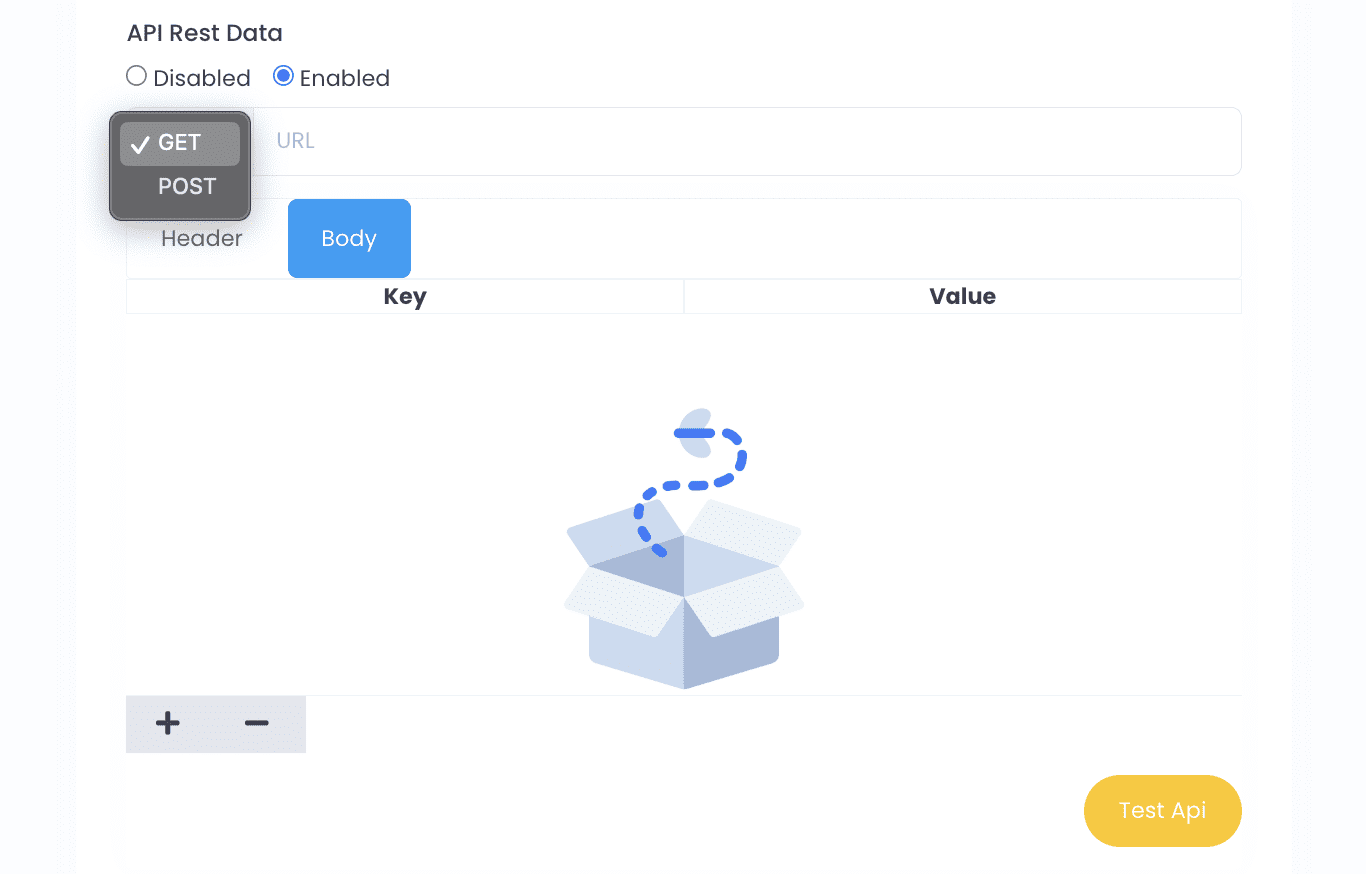
API REST DATA. Use this option to integrate your chatbot with third-party applications via API.
- Choose POST or GET requests.
- Enter the URL, headers, and parameters needed for the request.
- Check the API REST documentation in the WhatsApp Tools section for more details.
Media & Templates. You can attach media files (images, videos, audios, or documents) to your response. Click on the File manager button to select them, or upload them from your computer, Google Drive, One Drive or Dropbox.
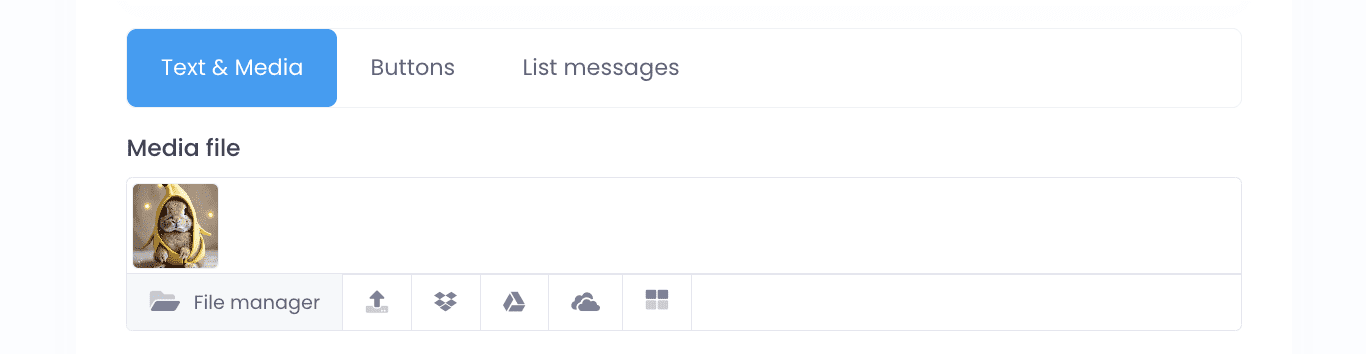
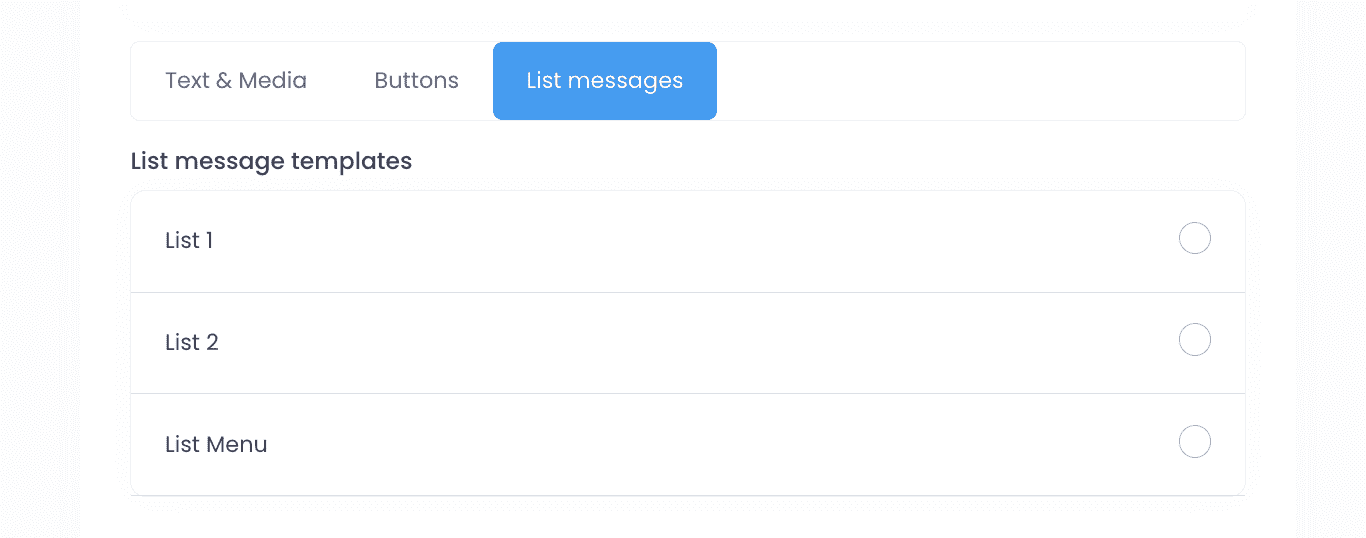
Here you can also select a button template or a list message template (click here to learn how to create them).
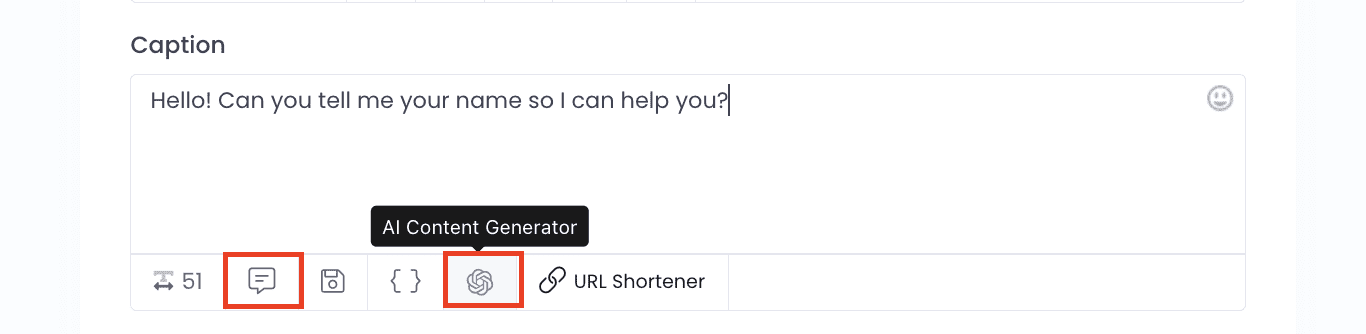
Caption Box. This is where you write what the bot will say when the item is triggered. Feeling stuck? Click on the AI Content Generator icon to have the AI suggest a response, or click on Get Caption to insert one of your saved texts.
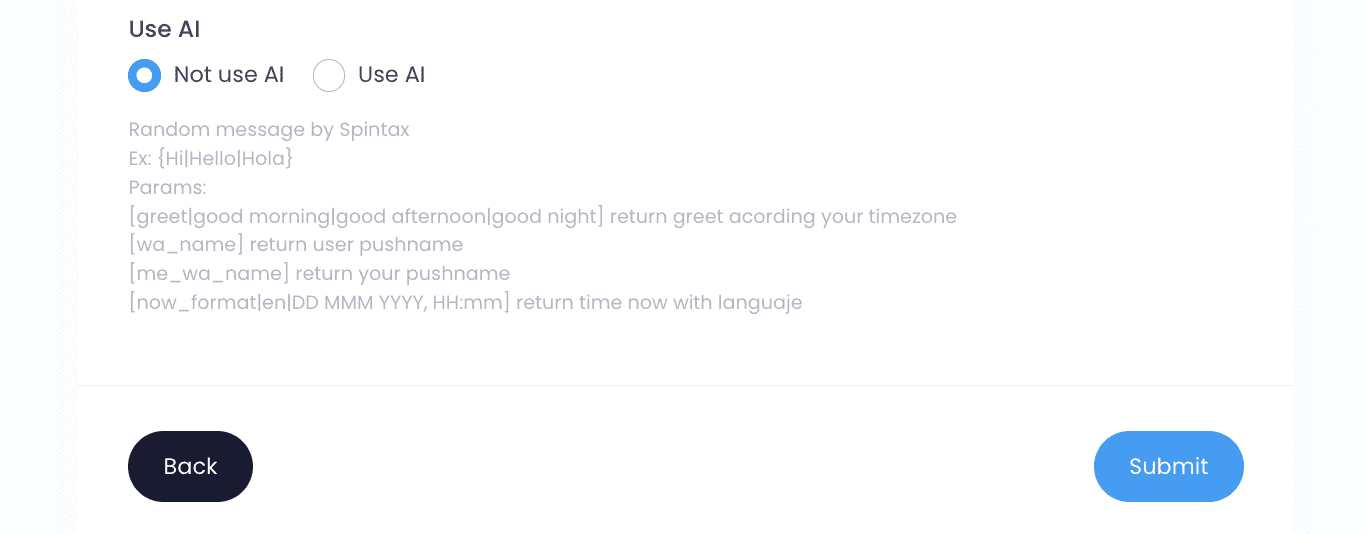
AI or No AI? Below the caption box, you’ll see two options:
Use AI → Requires an OpenAI token & a prompt to rewrite the response dynamically.
Not Use AI → The response is sent exactly as written.
💡 PRO TIP: Use AI only for the No-Match template and leave other items without AI.
Submit. Once you’ve configured everything, click the Submit button to save your item.
Managing Your Items
You can view all the items of a WhatsApp account in the Item List section. Here, you’ll see:
- Keywords
- Next Bot Actions linked
- Number of times each item has been triggered
- Status (Enabled/Disabled)
- Type (AI Response, Singular Item, Saved Response)
- Target Audience (Individuals, Groups, or Everyone)
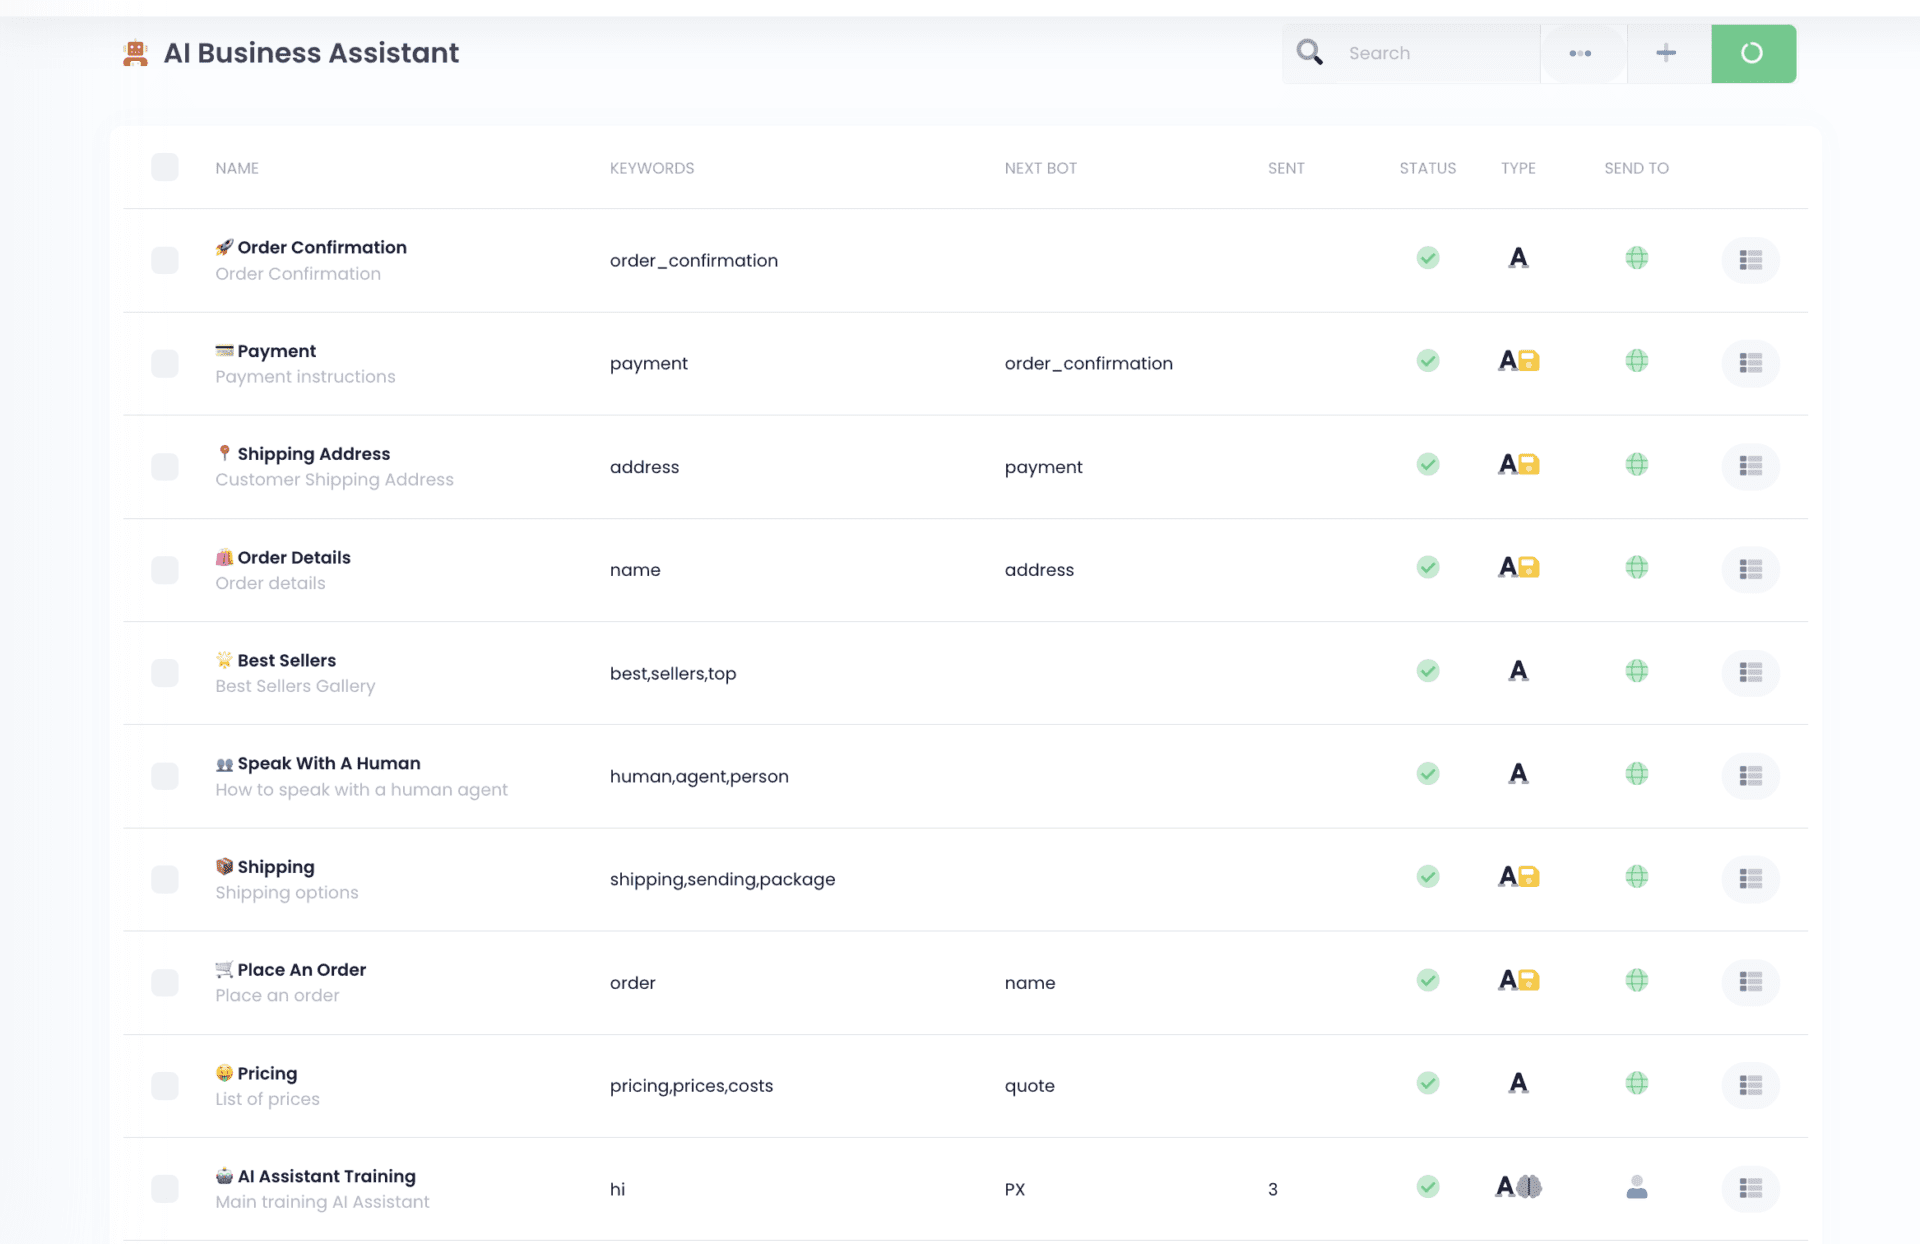
Need to make changes? Click on an item’s name to edit it. You can also export your items for backup or for sharing them with another account with this tutorial.
You’re all set! Play around with these settings to customize your bot’s behavior and create a seamless user experience.